Sunday, 26 March 2017

Eylau concluded

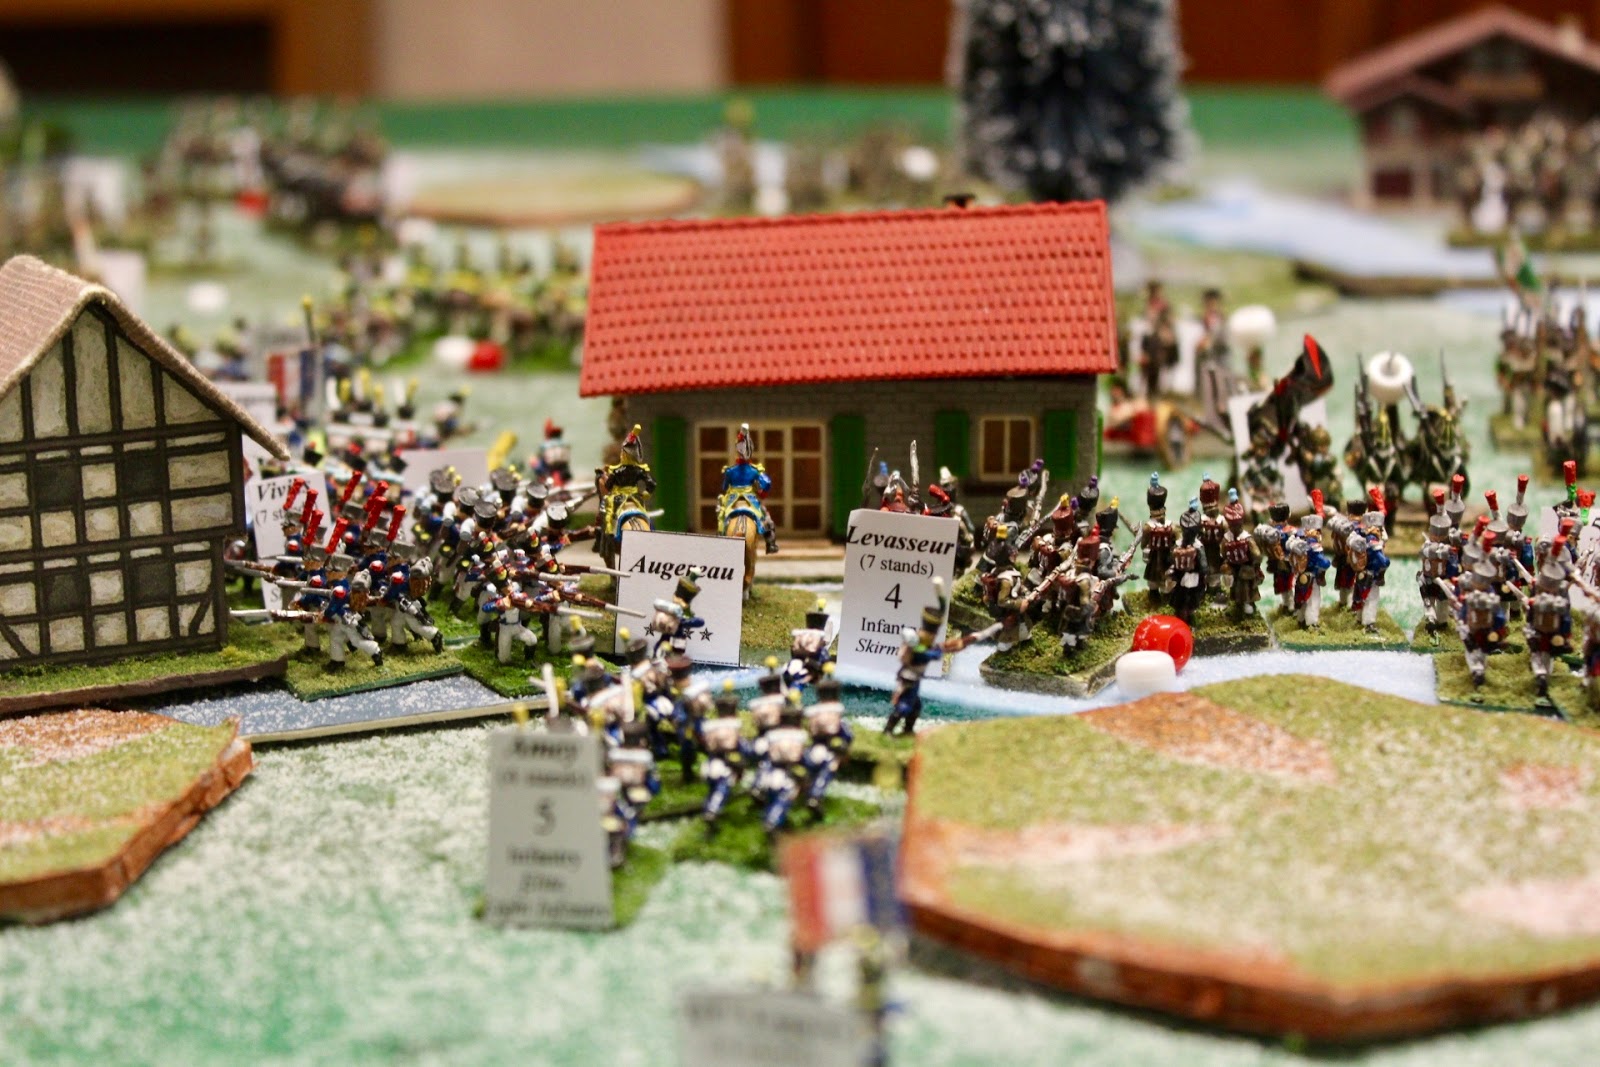
Brent and I have spent a second session continuing the Battle of Eylau. The battle has been very dynamic with many casualties. The French attack on the left had run out of steam with the 2 remaining cavalry brigades heading back to the French lines with Marshall Murat's incapacitated figure in tow.

French left preparing to attack and aftermath


The Russians advanced on their left in turn, but were pushed back and disorganized as twilight arrived. There are two Russian cavalry brigades cut off and waiting for night to fall so they can escape the French lines.

Russian left and French counter attack


The French have brought in as much troops as they have available except some of the Imperial Guard. The French have held Eylau since the first turn and when night falls and the armies separate to reorganize the Russians will be forced to shelter outside in the winter storm causing a significant morale loss for the coming battle tomorrow.


 The armies separate for the night and prepare for battle in the morning


Both sides have lost about 50 stands of troops with the Russians counting 6 batteries destroyed.

Day 2


The Russians were lucky and won the initiative for the next day. They continued to consolidate their position, pulling back depleted units and holding a line supported by terrain and their remaining artillery. They counter attacked the graveyard and disordered as many French units with fire as they could.

The French morale was in bad shape due to heavy casualties the previous day and calling in the guard. They needed to press the attack and rout the Russians before their own morale broke. The French pressed forward in the centre with the support of the Old Guard foot. They recaptured the graveyard and advanced their artillery. Davout's elite Corp began arriving and was used to reinforce the attack on the left. They screened their right with cavalry and forced the Russians to defend this area with their depleted units.

The battle ebbed and flowed with casualties mounting and the French advancing in the centre and on the left. The Russians were forced to hold the line with their depleted units and their losses would have swung the morale in French favour.

As the French prepared for yet another counter attack. Their morale broke and they fled the field at 12:00


Casualty piles

French Old Guard call off the attack
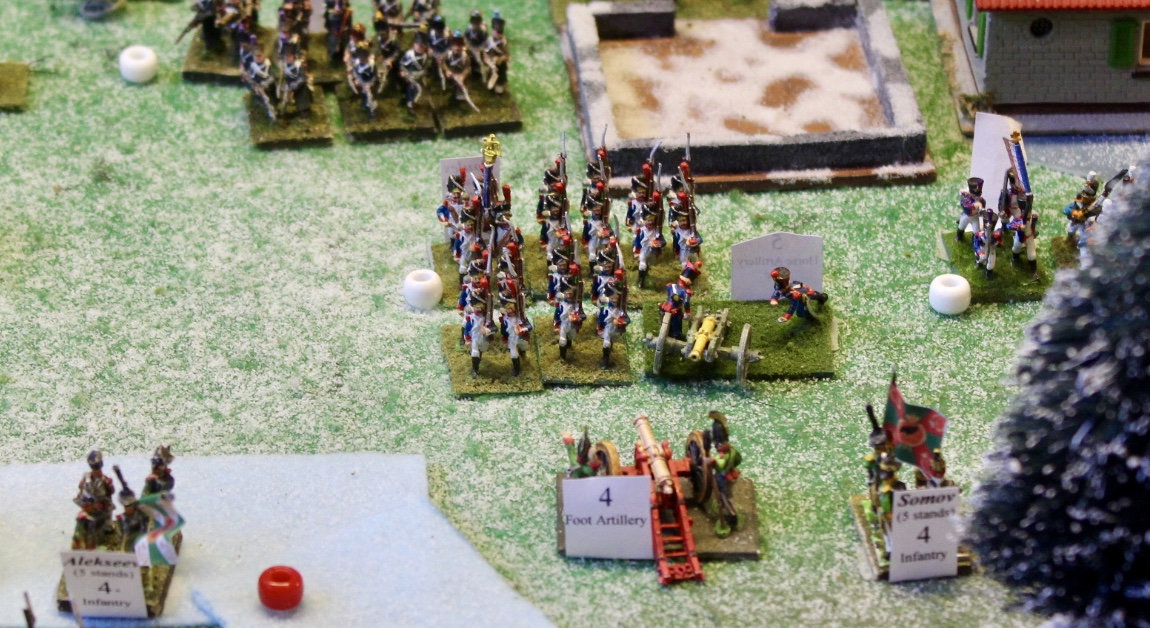
Overview at the end of the battle
Pressure on the Russian right
Custom built graveyard

This battle took almost two weeks to complete! Brent and I played the bulk of the first day. He gave instruction to attack aggressively in the centre with the support of the Old Guard the next day. I played a turn a night for a few nights to wrap up the game. The scenario was interesting with a clear objective. French break the Russians or lose. The snow rules did not work because we kept forgetting to use them during movement. The Russians fought a defensive battle and made every effort to preserve units that were damaged. The rules give morale loss for units wiped out or broken. The Russians were making a last stand with 5 units on the front line with only one hit left when the French morale broke, getting three 6s on 13 dice.

Sunday, 19 March 2017

Painting with Bob Ross

Does any one remember Bob Ross? He had a TV show back in the day in which he painted a landscape in 30 minutes. I was watching some of his shows with my kids recently, and was inspired to upgrade my back drop with his help. It has been on my "to do" list to add to my backdrop, as my old one was too small for my new, wider table. I found an episode with a landscape I liked and got my canvas and paints out. He paints with oils and I paint with acrylics, so I had to adapt on the fly. On the whole, I am pleased with the results and I think it is a big improvement on the previous painting. I have seen people use actual landscape photos for a backdrop but prefer the painted version as the realism contrasts with my attempts at terrain and toy soldiers.


Before...

...and after

Tuesday, 14 March 2017

Battle of Eylau 1807

After the fun of setting up the table and organizing the figures into opposing armies, it was time to roll some dice. The battle of Eylau was arguably one of Napoleon's first setbacks. He had conquered Austria and Prussia and was pursuing the Russian army into East Prussia. The Russian General Bennigson chose the hills surrounding the town of Eylau to make his stand against the Grand Armee.
There was a snow storm that played a role in the battle, causing the two sides to blunder into combat when the snow began blowing. At the start of each turn , there is a 50% chance the blizzard will impair your army for the turn.
Russians on the left French on the right


The French had the first turn. They started with most of their army in marching to the battle. Napoleon elected to take the initiative and capture both Eylau hexes and the adjacent graveyard. Murat's cavalry caught the Russian cavalry in column on the French left and pressed forward aggressively.
French occupy Eylau at a cost


Hearing the sounds of the battle engaged, the Russian generals left the army HQ to find their units. Seeing the French had moved into range of their guns, the Russian front line opened up a devastating volley causing many casualties. The Russian Grenadiers assaulted and recaptured the graveyard but could not retake Eylau. The Russian left pressed forward against the exposed French right. The Russian cavalry on the right consolidated against the superior French cavalry in the midst.
Russian right in disarray


Napoleon decided to probe the Russian lines for weakness, despite his initial heavy losses. The French light infantry division supported by cavalry broke through to the left of Eylau and drove the Russians back in confusion. The French cavalry attack on the far left had continued success but were starting to risk dispersal due to accumulated losses. Napoleon sent his elite cuirassier unit to shore up the exposed right flank.
French view of the centre


Losses after the first game day 12 Russians (including 3 cannon) to 23 French. Stay tuned for part two....
Russians form up on the French flank


Monday, 13 March 2017

Sails and Muskets

I was able to try out a game of Sails of Glory recently. It is based on the game mechanics found in Wings of War/Glory and X-Wing. You have to plan your maneuvers two in advance and cards are used to measure how far you move. The combat system was a little too devastating in my opinion. A 74 gun ship was knocked out from a bow rake and a broadside from another 74. It allowed the game to come to a conclusion in a hurry but in my opinion, a ship of the line should be able to survive a little longer than this. As you can see from the pictures, the game components are very nice. The ships are pre painted and mounted 1/1000 scale.

The first picture is of the ship's control panel. The top row shows ship strength and crew strength. These boxes are marked off as the ship takes damage and battle effectiveness is reduced accordingly. There is special damage like dismast, fire and leaks. Fires are particularly deadly and perhaps a little too common but can be minimized by ordering some of the crew to be a fire brigade.

Every turn captains pick a new maneuver card as well as assign crew to task such as firing, reloading, musketry, repair and fire brigade. You can load round, chain and grape shot.


Here is a shot of two British ships pounding a French with a bow rake and broadside. The French tried to cross the T but failed and burned to the waterline for it's mistake. The French ships later collided and were entangled for several turns. The surviving French 74 was lining up a stern was lining up a stern rake on the trapped Brits but they disentangled in time to maneuver to safety.

Very tempted to purchase this game


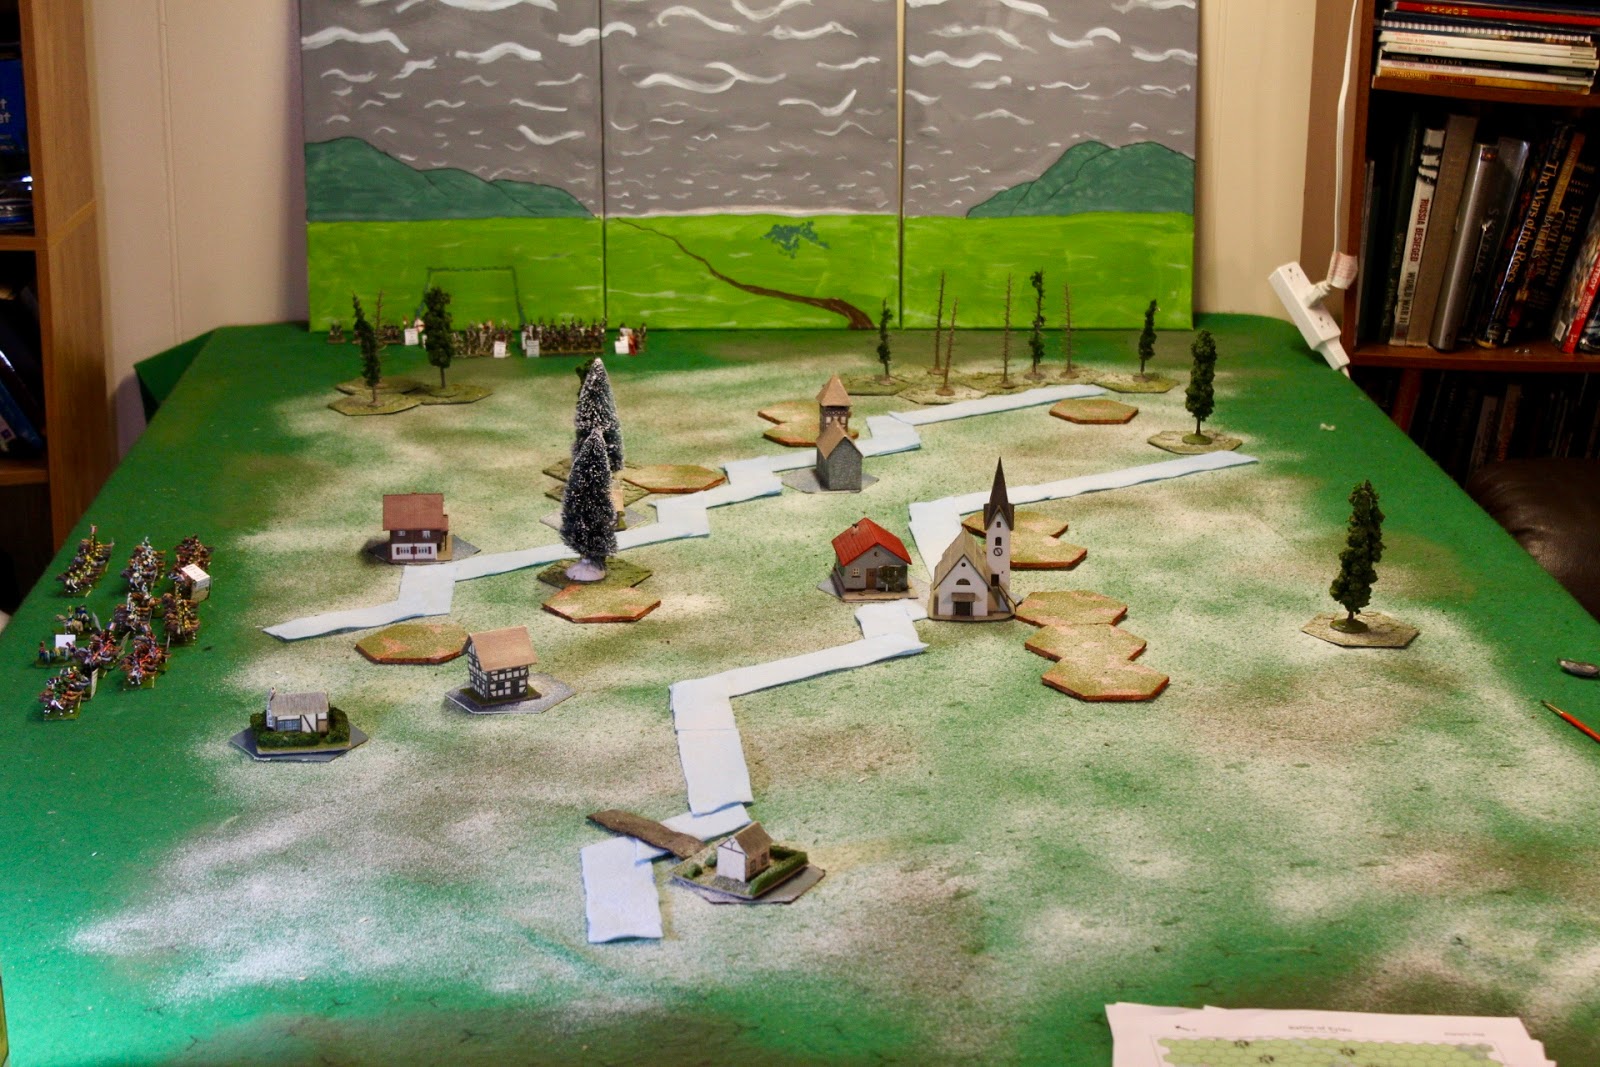
We scheduled future games at the Sails of Glory game including a game of Commit the Garde. I put together Russian and French armies to give the newly published Eylau scenario a try. I thought I would try to addd some snow and ice to my table to emulate this notoriously blizzardy battle. I found some snow flock at the local hobby shop and bought some light blue felt to make iced over rivers. I could not add as much snow as I would have liked because I had to be able to see the hexes underneath. I had to use a paintbrush to uncover the hex corners after flocking. Stay tuned for the after battle report...


Here is the scenario map I am trying to emulate. Each hex is 500 yards

 New Flock


Sunday, 12 March 2017

Jobs a good one


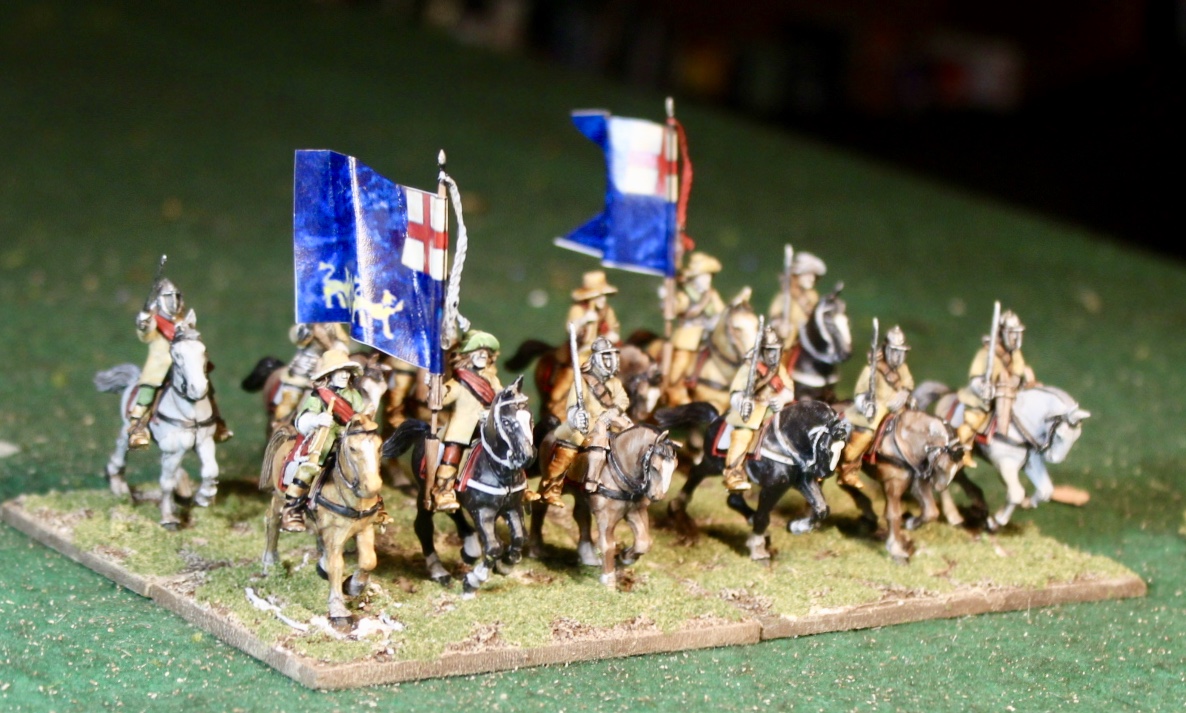
I am happy to show my completed ECW cavalry. These are plastics from Warlord. I slipped back into my routine of painting at least 2 colors 5 nights a week like an old glove. My lead pile is once again empty. I can get back to playing games (and writing blog posts!). I always feel a little down after finishing a painting project without another to fill its place. Like Alexander with no more lands to conquer, but less Great. Flags are again from WarFlag. The units are generic and can be used for either side of the conflict. Simple painting as always: white primer, block colors, brown ink wash then black lining. 24 horse in about 10 days.


Sunday, 19 February 2017

Brush with Plastic

Here are the completed infantry units from my recent purchase of Warlord plastics. They are a little larger than my usual Old Glory metal figures but close enough not to matter. I spent about 5 or 6 hours assembling 40 foot and 24 horse and this would be time better spent painting. I had to remind myself that the figures were a great value while assembling, to get through it.

Once assembled the figures looked great. There was a little bit of mold line that I ignored and as you can see from the pics, the lines are not visible once painted.

I printed off some ECW flags from the excellent Warflag website and voila, 40 figs build and painted over a 2 week stretch.

Next up will be 24 horse made into 4 units. I have them assembled and primered. I am painting the horse first and then the riders. Stay tuned for cavalry reinforcements and then a big game of Baroque to blood them.


Monday, 13 February 2017

Battle Royale

Here are the highlights from last nights Sword and Spear game with Martin. The Romans faced off against Mithradate's Pontic army.

We tried out the terrain placement rules for the first time. This resulted in a hill and swamp in the centre front of the Roman deployment zone. The Pontics had a woods in their rear and a hill and field on their left and another field on their right. This was a fair bit of terrain for an ancients battle and had quite a bit of influence on the battles outcome.

The Romans were out scouted and deployed their heavy infantry on the hill with their flank anchored against the swamp. Cavalry deployed on the right and archers with light cavalry formed a screening force and reserve on the left.

The Pontic Army set up opposite the Roman heavy infantry and cavalry. They had a larger army and were able to stack the flanks with extra light units. to try and win on the flanks.
Deployment

Setup

The Roman plan was to attack with a refused left flank. The cavalry clashed on the Roman right resulting in a quick loss of a Pontic skirmisher and cavalry unit. The remaining units on that flank settled into a seesaw battle.
Cavalry battle


The Pontic Army invested their initiative in moving their flank attack on their left but found themselves hampered by the swamp and cultivated field as well as low troop discipline.

The Romans advanced the right of their heavy infantry toward the Pontic Imitation Legionnaire line, hoping their cavalry would hold long enough to avoid getting flanked. The Pontic responded by attacking the partially committed Roman heavy infantry.
Heavy Infantry closing in the Centre

The Romans spent the next few turns sending in more troops into the centre until their two sides were engaged in a major press of shields.

It became apparent that the Pontic flanking maneuver would not arrive in time to alter the outcome in the centre. The Romans were slowly winning the cavalry fight on the other flank. In the centre, Roman armour and discipline wore down and eventually defeated enough of the Pontic heavy infantry to clinch the win.
End Game


Martin and I talked at length after the game to decide what could have happened differently. Rome did very well in the terrain set up by getting a defensive spot to launch their attack from. The terrain deployment system in Sword and Spear has a random element that can see terrain move around or disappear and the Romans were lucky to have their gamble pay off.

The Pontic heavy infantry could have deployed further back, anchoring their flank against some heavy woods. If the Romans pursued, the Pontic could have more easily picked at their exposed flanks and Roman flankers would have been impaired by terrain. The Pontic cavalry might have faired better if they led with their melee cavalry and supported them with skirmishers in the rear.

The game was set up and played in 4 hours including a couple of coffee breaks. A very pleasant way to spend a Sunday afternoon and a chance to try out our luck as Armchair Commanders.
Bad Activation Roll!