Monday, 9 January 2017

Baroque

Looking back over the past posts, I see that I am due for a game with my 28mm English Civil War collection. This has been building momentum over the past few months. I purchased a copy of Baroque from Wargames Vault. This is the spinoff from their popular rule set Impetus and Basic Impetus for the Ancient period. I have played a game or two of BI and found it to be fairly fun but it has been five years since this experience.


New Shiny


I also ordered some reinforcements for both armies thanks to a 50% off and free shipping sale from Warlord Games. I ordered enough cavalry for 4 more units and enough foot for 2 more units. This will allow for more flexibility if I want to try an all cavalry or all infantry list, or just play a huge battle. Once painted (hah), I will have 6 Foot and 6 Horse a side.

So I read through the rulebook several times but there is nothing like playing a learning game to really get the hang of the rules. I built 2 600 point armies using the list provided in the back of rules for Early Royalist and Parliamentary forces.

The Royalists had:

4 Galloper Cavalry
4 Pike and Shotte Foot
1 Medium Cannon
1 Dragoon
3 Generals rated Poor/ Average / Expert
one P+M unit had Iron Officers and one Cavalry had Motivated Fighters


The Roundheads had:

4 Trotter Cavalry
4 Pike and Shotte Foot
1 Light Cannon
1 Commanded Shot
1 Clubman Foot that were Unmotivated Fighters
3 Generals rated Poor/ Average / Expert

Basing in this scale takes a little getting used to. Each base is 18x6 cm (7"x2.5"). This means no formation changes. Units are always in line. The rules advice breaking foot into 3 60x60mm squares and horse into 90x60mm. This is what I did to allow for use with other rules (namely Victory Without Quarter). As you can see this also allows units to flex with the hilly terrain. I love the look of the big units too.


Now all I needed was an opponent. Being out in the country on a snowy day I was lucky to find a local volunteer to man the dice for the Royalists.

Major General Eli deploys for battle


The rules for setting up terrain were dispensed with although there are rules for gaining the initiative and setting up terrain to your advantage. The rules do not allow for much terrain and you can expect a fairly open battlefield. This is reflective of the period as generals chose to fight in fairly open terrain. My table had steep hills in both deployment zones and a gentle hill on the flank. There was a river and town on the other flank. I had a forest on my flank and the road was lined with a hedgerow in part. More terrain than I needed but I like to get my scenery on the table when the opportunity arises.

Roundhead Centre
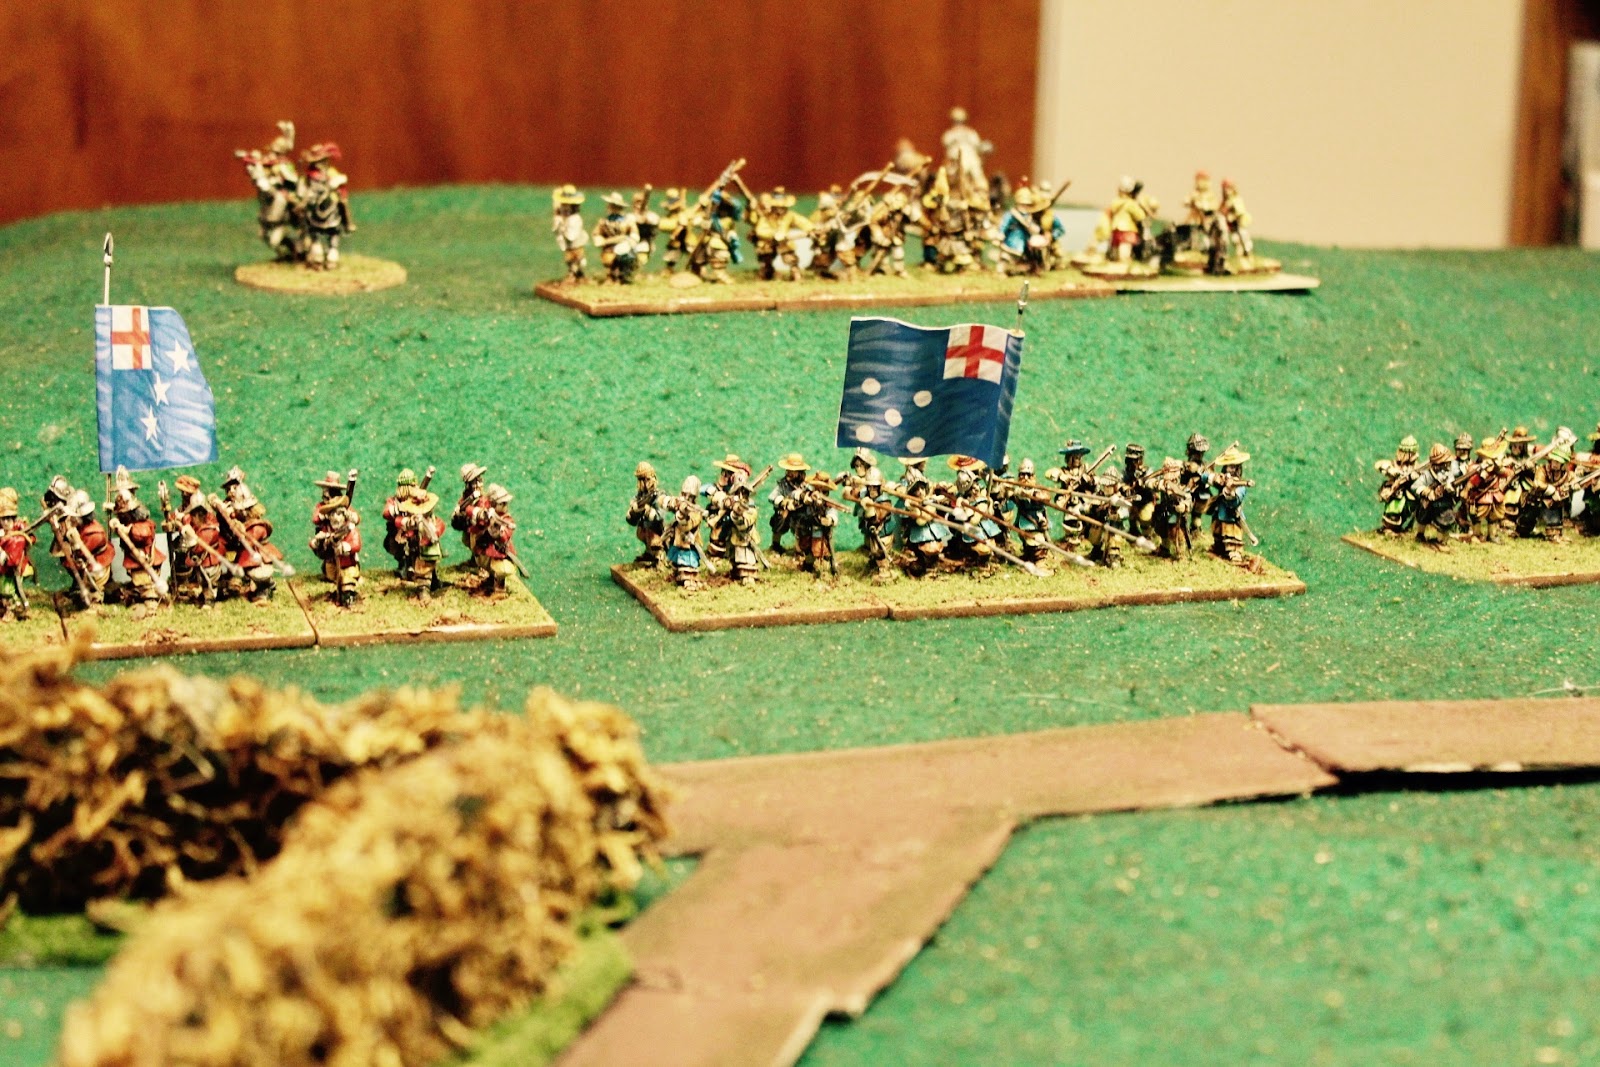

Each of the three generals were assigned a command of certain units. We had an historical set up with the cavalry split on the flanks and the infantry in the center. Each turn is played in phases. Both sides select a general and his command and roll 2d6 for initiative. Leader quality can improve the roll. The winner orders all the units under his command, one at a time. Then both players select another general and roll again until all commands have been activated. Then a new turn starts and all generals and units become eligible for activation again. 


The fun part about these rules is they are very interactive. Units can react to enemy activity by opportunity firing or charging. On turn one I advanced my Pike and Shotte unit to close the range with my muskets. The cavalry opposing me rolled to opportunity charge me and did so successfully. My move was halted as I suddenly was in melee with rabid horse men. In addition, you can "go for it" during movement. After your initial move you can move again. The first move is free and the next and successive moves come with an increasing chance of becoming disordered and halting. As always every action can cause a reaction from your opponent. Units can only react once per phase whether it is successful or not. This means you if your first move results in a reaction you are safe from that unit if you want to continue moving, shoot or charge. Good tactical depth, lots of decision making and fog of war, as you never can be sure if things will go as planned (also very true of the period).

I made labels for units and commanders. M= movement. Each movement is 90 mm or 3.5". Foot have 1 M and Horse 2. VBU is basic combat value. This goes down as you take damage and is also a units # of wounds.. I = Impetus. This is a units ability to do more damage in a charge. Units with 0 Impetus cannot charge. D= Discipline. C= poor, B= Average and A= superior. All the units in my battle were Bs. Discipline is used to do things like react to enemy moves, make extra moves and rally from disorder.

Movement is basic and fairly generous. The large based units are difficult enough to maneuver without adding lots of rules that restrict movement as well. Close order formations are disordered when moving through difficult terrain but are not otherwise slowed. For example, in my battle I my flanking Horse defeated their opposition but took forever to redeploy to exploit their success. Skirmishers, commanded shot, artillery and dragoons can interpenetrate and be interpenetrated by all and horse can interpenetrate horse. P+S will get in each others way when deployed in depth. I like the horse interpenetrating horse rule. This allowed my defeated horse to fall back behind the supporting unit of horse and this seemed a proper historical reflection.

Handy unit labels

Royalists foot and cannon deployed on a steep hill


Shooting is simple enough once you get the hang of it. Roll dice equal to your combat value. Modifiers include -1/hit, -1 per move before firing and -1 for disorder. -1 for disorder applies to any roll you make except rally. P+S in this period shoot at -2d6. The greater the ratio of pike to shot in a unit gives a modifier of -4 (Early Tercios) to -1 (late period P+M).

Hits are on 6s and pairs of 5s. This rule applies to melee as well. If you get any hits this will cause a cohesion check. This check can be wildly random. A unit may be devastated by a single hit or shrug off a devastating volley or melee charge. Fresh units are relatively immune to this but after that watch out! I like to think of it as the vagaries of war and it prevents the game from dragging on too long. Perhaps the units loyalties were not as sound as we assumed or the unit hit some soft ground before making contact or the musketeers had poor powder. The writers have taken certain players concerns into account by offering an option to purchase of up to 3 re rolls of cohesion checks per game.

There are a number of weapons represented from the lowly bow to the mighty heavy cannon. Cavalry tactics of the period are covered with simple rules. Gallopers have high Impetus and must pursue. Trotters get "point blank pistols" for 3d6 damage just before their first combat. Reiters have a chance to shoot a second time to represent Caracole.

A volley from Royalist dragoons


Melee is similar to shooting but generally more decisive. The big difference is that under the right conditions a unit can add it's Impetus to it's combat value. Impetus represents the shock of the charge. This can be nullified by things like pikes vs horse, defended terrain or being caught flat footed. Like shooting, a unit rolls a d6 for each combat value + the impetus value if applicable. The most common modifiers are -1/hit and -1 for disorder. Once again, any hits cause the dreaded cohesion test. The losing side took the most damage and will retreat. Retreat and pursuit distances are randomized. Units with 0 Impetus cannot charge.

P+S vs Horse  


Firefight!


Royalist Horse driving off their opponents


Parliamentary Horse return the favor on the other flank


Disorder and rallying are important aspects of the game. Disorder is easy to get. Any hit by shooting will cause at least disorder. Fighting in a melee causes disorder even if you did not get hit. Failing a subsequent move or moving through terrain can cause disorder. Luckily, all units get a free rally roll at the start of their activation. For average troops this is a 4+. If you blow it, your leader can step in and let you try again but you can do nothing else that activation. It felt like I never made my rally rolls when it was critical but I am sure it was 50% just like the odds allow.


Casualty markers denote disorder. These units are hoping to get the initiative, rally and charge.


When a unit takes hits equal to its basic combat value, it is destroyed/ routed. A unit below half is exhausted and can no longer react. When a unit is exhausted it reduces army morale, when it is routed the effect on army morale is doubled. There is an option to withdraw badly damaged units. Withdrawn units do not count as destroyed. It is hard to do and my opponent and I chose to battle to the death in our game. When a command goes below 1/2 strength, all units take a cohesion test to remain in the fight. If the army goes below half strength, it quits the field. Our battle was close. We were both one unit away from collapse before the Roundheads routed the Foot unit defending the hill for the win. The game played pretty quickly and I will definitely use the rules again. My only complaints are that the writers assigned different values for low and high rolls. Sometimes you want to roll high and sometimes you want to roll low. I spent a long time looking at the rule book to decide if low was good or bad. Another beef is the lack of an index. This is compensated by a thorough table of contents. I have never liked that the unit stats and titles are not translated from Italian. For instance, VBU stands for Basic Combat Value, why not call it BCV??? Light Cav are CL and not LC etc. These are minor quibbles for an otherwise solid rules that gave a fun game in a reasonable amount of time. Two thumbs up!


Final battle in the center


Thursday, 5 January 2017

Holiday Well Spent

I am taking a week off after working through most of Christmas. This means more time for gaming. Yesterday my esteemed opponent Brent was kind enough to host a game. We played a massive version of Axis and Allies. The game board was about 4x6 and filled with various forces of WW2. I had played the original version of this game many times 30 years ago when it was released by Milton Bradley. Most of the mechanics were the same but there were many new units and flavor rules added to this version. The game took about 90 minutes to set up and we got through 5 turns. The game starts after the fall of Poland and the Low Countries. By the time we finished 5 hours had gone by, England had fallen to a well executed Sealion, the US joined the war and focused on the Pacific, Japan had knocked out China, captured the oil rich territories of the Dutch East Indies and was locked in battle with the British forces mustered in India and Siam. Germany was preparing to declare war on Russian with land sea and air forces.

Giant map and many strategic decisions


England was overrun in turn 2


Next up is a game with the too long name: Magic the Gather: Arena of the Planeswalkers. This game is an adaptation of the excellent Heroscape game mechanics with spell cards and fluff from the Magic Universe. We bought this game for Christmas last year but I could not get my kids interested even though they are huge MtG fans. This year I insisted that we try it. Well now they cannot get enough and we have played one or more games a day for the past week! There are a couple of fun looking expansions we are looking at and the figures are begging to be painted. 


Green vs Blue

Tuesday, 3 January 2017

Marching to the Drums

Back to Napoleonics with  new but familiar rules. We had a gathering of the usual suspects in Zak's deluxe game room to play the Battle of Golymin & Pultusk "La Grande Battle" (26 December 1806) generously provided by the C&C webpage for free. So chosen because we played on December 26th, the 210th anniversary of the actual battle. The scenario required the French to attack and capture a hill and towns on the right. The battle on the left was to be a holding action to allow the Russian army to withdraw. Russians got victory points for withdrawing units from the centre. The Russian generals elected not to withdraw as they felt like fighting instead (to their credit). We spent about 90 minutes setting up as both armies were large and we followed the scenario set up that took some effort to get right. The battle itself went quickly with the French pressing toward the objectives and driving the Russians back. The game system requires cards to play in each section of the field (left, centre or right) and both sides quickly used their quota trying to gain advantage. The result was that the objective side of the battle ground to a halt and the centre and left became the focus. The game played quickly and the French pulled off a win through casualties without getting any actual tabletop objectives. A fun game and a good opportunity to get my figures on the board. The rules worked pretty well although the Russians are at a disadvantage because their infantry are only 3 stands compared to the French 4. A good ruleset for playing a really big battle in a small amount of time.


Sunday, 1 January 2017

Platoon Patrol

I played a game of Chain of Command. This was my fist stab at the rules and I found them quite enjoyable. I had to do some homework on fire and maneuver tactics for WW2 infantry platoons. TooFatLardies provide a nice tutorial here: http://toofatlardies.co.uk/blog/?p=3282 

This is a series of 6 or 7 blog posts discussing tactics and how to use them in you Coc game. Fun and inspiational reading. 

I recently rebased some of my 15mm Flames of War stuff to allow playing CoC and Bolt Action in 15mm.

Germans

Soviets


The scenario I played was called Patrol. To start the game there is a pre game sequence called the patrol phase in which counters are moved on the table to determine where the two sides have made contact. These counters are then converted into Jump Off Points (JOPs). JOPs are then used to deploy your troops. 

In the photo below, a German LMG section is in a building facing a full Soviet squad behind a rock wall. The Germans were getting the worst of it so they threw a smoke grenade to cover their withdrawal. I had several model train buildings that have served me well in 15mm for years. I had to pop the lids off to allow for troop occupation of buildings.


On your turn you roll 5 dice. On 1-4 you can activate a team, squad or leader depending on the roll. 5s are accumulated until you get 6. You can cash these in for a variety of tactical advantages. In my game I mostly used them to avoid morale checks. 

You start the game with no figures on the table and deploy them within 6" of your JOP as needed. The Soviets deployed early and gave up some flexibility for the advantage in firepower. The Germans were able to keep a squad in reserve and this gave the advantage of denying the Soviets a target and forcing them to be prepared for a sudden arrival of reinforcements. The rules are highly tactical with the option to break your units into fire teams and scout teams. Leaders are valuable as they allow units to do special actions like rally, throw grenades, go on overwatch or provide covering fire. There is lots of choices on what  unit can do but turns go quickly because one can only activate units that get rolled. Also, while rolling dice for your turn, if you get 2 or more 6s you get to have another turn. In my game both sides had the opportunity to go 2 or 3 times in a row several times.

This photo shows an overview of the table. The Germans started in the woods on the right and the Soviets in the far town and woods on the left.


Now I want to get some books that give soldiers acounts of these small actions for scenario ideas.

The demand for figures is small for this game. In my game both sides started with 3x10 man squads and an HQ section. Platoon support can be added to this. The level of support is randomized with a die roll at the start of the game. You pick your support from a menu. In my game the Germans took an Adjutant (bonus to deployment). The Soviets got a sniper and a light mortar.

I like that the focus is on infantry and that there is limited opportunity for big tanks. I think that historically, tanks were rarely assigned piecemeal to infantry platoons. This gives value to lower powered vehicles like hanomags, light tanks and recce vehicles. All of which I am looking to add to my collections!

This photo shows a German Squad led by the platoon commander in the back. They provided fire support while another section advanced to flank the Soviet position.


Friday, 23 December 2016

Keeping the Fire Alive


Back at it after winning a fight with my computer. I called in an airstrike from the computer repair guy that finally got me back on line. I decided to get out a simple ACW game after playing a marathon Fire and Fury game. This time it was Battle Cry and the Cornfield Scenario from Antietam.  The troops are 15mm. My esteemed opponent got the better of me in this one...


...So I reset the table with my never before used Memoir '44 game. My opponent wanted to play something with tanks. It was a fun little air drop scenario that required me to actually drop figures from the air to see where I landed! I built a dice tower for the occasion and it worked great.

Herr Eli ponders his next move...


St Mere Eglise


I have spent the past week rebasing some of my 15mm WW2 stuff. I am good to go for Bolt Action ans Chain of Command. I had to strip some of my Flames of War bases but I had way more than I needed so I can still play FoW. In fact, I took my Soviets to a little tourny at the local game store and had a couple of games at 1250 pts Early War. I beat a Japanese infantry company but was dismantles by an Italian tank company. Good games and pleasant opponents.

I bought Chain of Command and am itching to try it. I hope to introduce it to my gaming group. They have large collections of A&A miniatures that they want to repurpose. I will likely be playing solo for the most part and I hope it works as a solo game. The will also work for Bolt Action.

Soviet squads led by specialists


SMG Soviets

Germans


I also purchased a copy of Baroque, an ECW ruleset from the writers of Basic Impetus. They are a great read and I hope to playtest them in the new year.

Merry Christmas!

Saturday, 26 November 2016

"Always make your opponent think you know more than you really know"

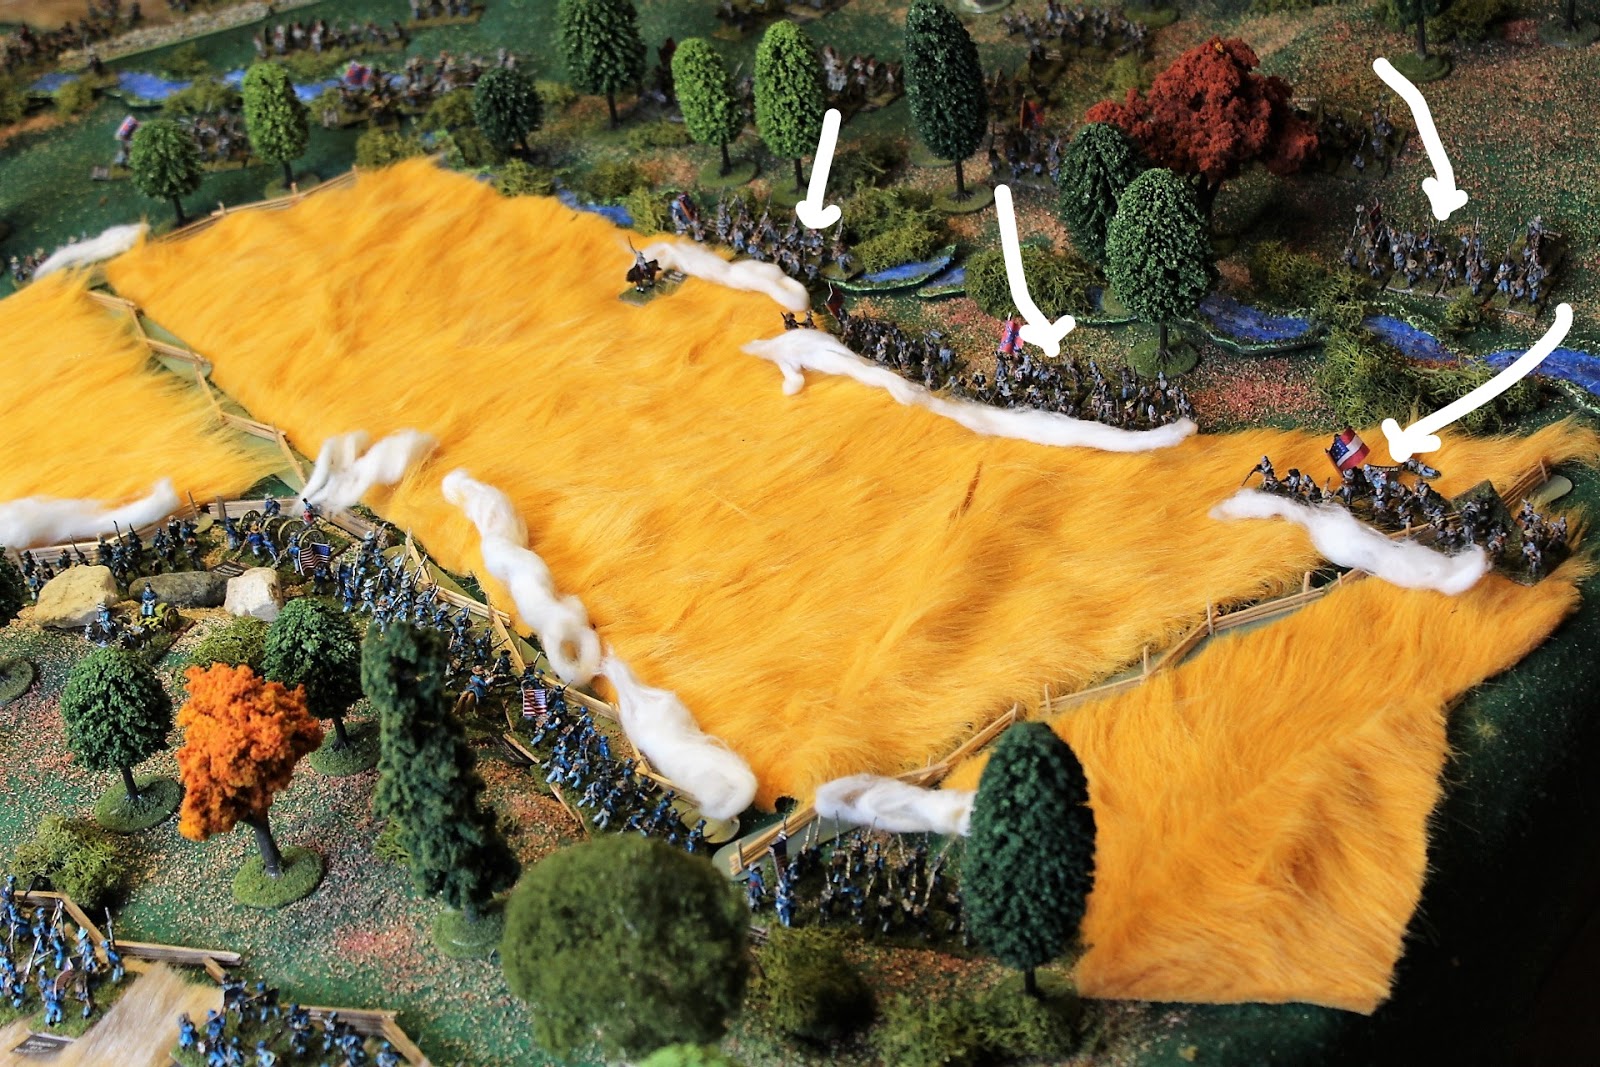
This quote is attributed to General Phil Sheridan but it reminds me how difficult this is to replicate on the wargames table. I have kept the historical context in mind while planning the attack and defense in a solo game of the Battle of Stones River using Regimental Fire and Fury. The scenario had the Confederated approach a prepared Union position. The Confederate commander decided to attack from the South and Demonstrate/ Support the main attack from the West like this.


By the end of turn 3, the Confederate advance had gone well. There were 8 cannon attacking the hinge of the Union position and had forced their troops to abandon one of their key positions. The Union troops facing the main attack were forced to retire deeper into the woods. They quickly reformed and were reinforce by a second brigade from the Union reserve. The Rebels would face a strong counter attack if they made a move to occupy the abandoned Union position.


Rebel batteries advance

Turn 2 Rebels pour across the cornfield

Turn 3 Union key positions in Blue

 Union troops advance to engage the open Northern flank

Rebels prepare to take the Union key position

Turn 4 - The Rebels struggle to consolidate their gains on the southern flank while the Union troops fall back into the tree line to avoid the murderous Rebel cannonade. Maney's Rebel division advances into the cornfield following the Union retreat. Robert's Union Division advances slowly through the difficult terrain in the north threatening the Rebel flank there.

Turn 4 overview from the south

Rebels in the Cornfield 


Mahey's Rebel Div breaks cover in the west

Robert's Union Div threatens from the north

Turn 5 - The fighting in the southern woods intensifies with close range musket volleys and a bayonet charge. The Union forces are clinging onto the key position with one unit and a battery. They are hoping their attack from the north will arrive in time to force the Rebels to withdraw some troops from the main attack to deal with them. Union Brig General Schaefer is shot from his saddle. This will sorely hamper Union command control at a vital time next turn.

Union batteries in the rear


Union reinforcements poor into the woods


Union troops press the attack in the north


Turn 5 overview

Rebels bayonet charge routs a green Union regiment and a limbered gun


Battle lines

The Rebel commander realized that he could not shoot the Union troops from their position and prepared to assault them in hand to hand all along the line. He was motivated to press on as the Union flanking maneuvers in the north began to bear fruit. Over the course of the next two turns the Union slowly gave up ground and was eventually driven from their key position. The cost was high as both sides had reached heavy casualty status. Battle honors goes to the 21st Missouri and their brave Colonel for being green troops and repeatedly pushing back veteran assaults before having to retreat with Rebels on both flanks.

Battle lines meet in the Woods


Union troops occupy the Rebel defenses in the north


Victorious Rebels unopposed in the centre

 End game

Whew! This ruleset is not holding up as a solo game. Too many troops to manage by myself. Turns took about 2 hours each and it began to feel like a marathon. It would be way faster with 4 players a side and I will have to try to make that happen at some point. I will continue to look for rules for the period that are faster play. Perhaps Black Powder as they just released the expansion for the Civil War. In the meantime, there is always Battle Cry to scratch the ACW itch.