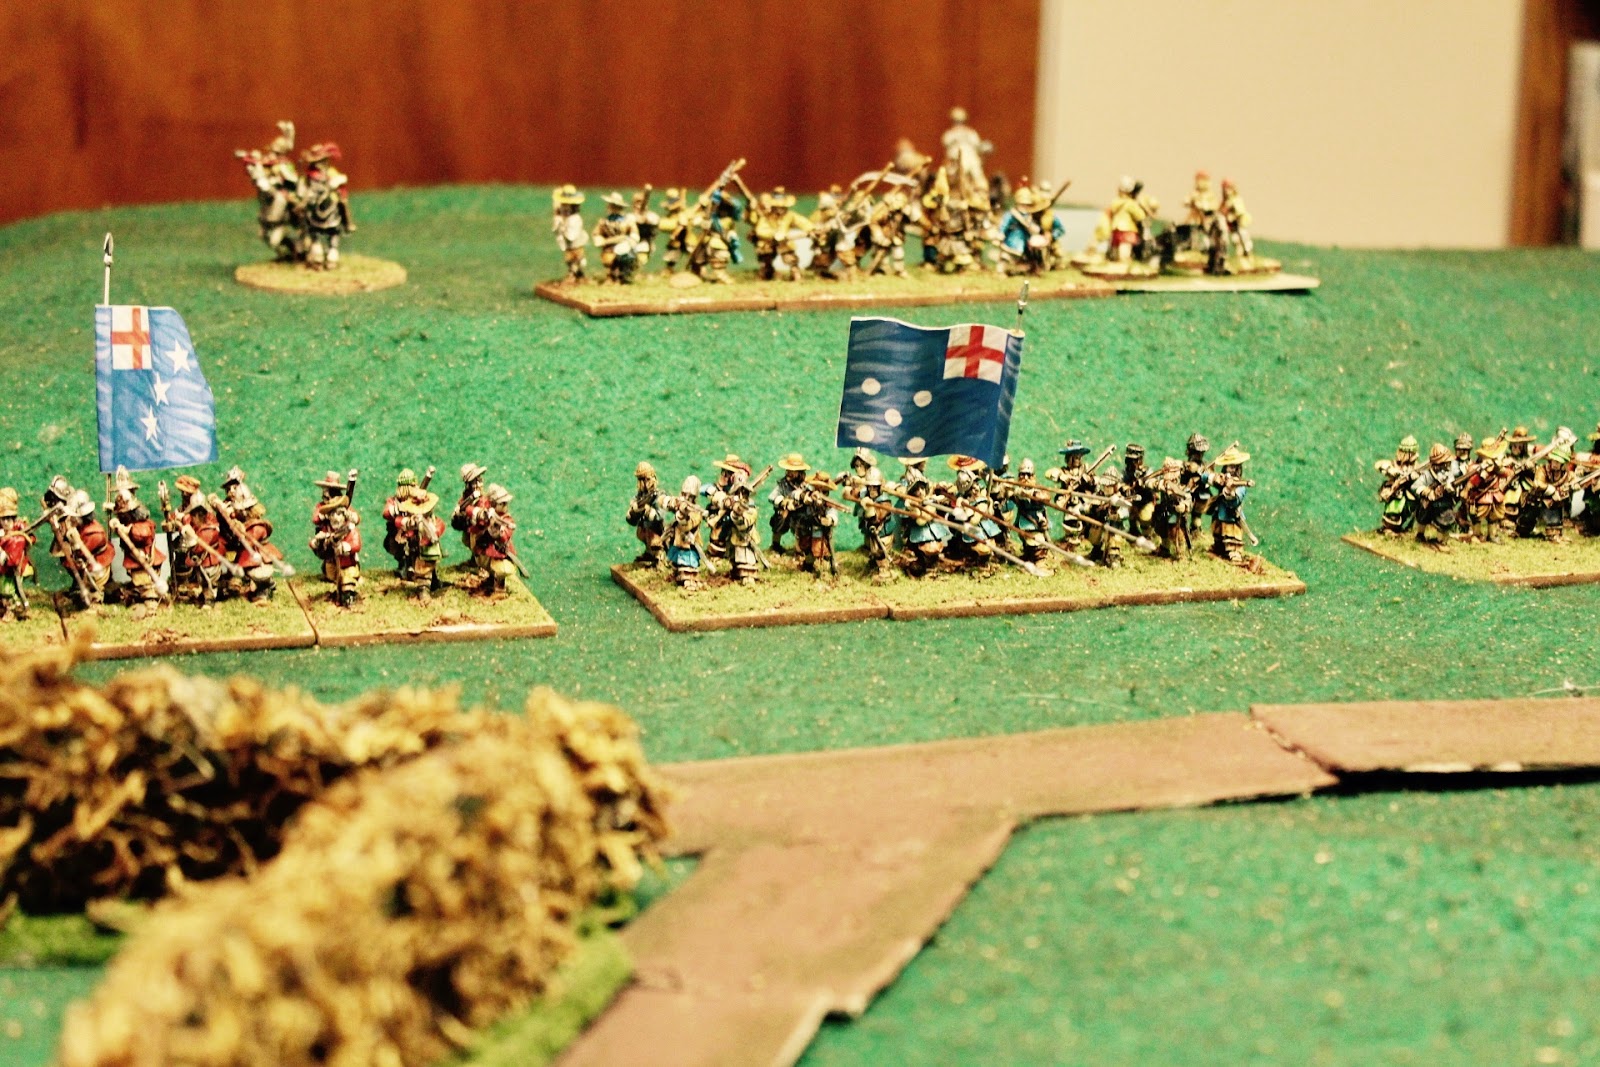
Looking back over the past posts, I see that I am due for a game with my 28mm English Civil War collection. This has been building momentum over the past few months. I purchased a copy of Baroque from Wargames Vault. This is the spinoff from their popular rule set Impetus and Basic Impetus for the Ancient period. I have played a game or two of BI and found it to be fairly fun but it has been five years since this experience.
New Shiny
I also ordered some reinforcements for both armies thanks to a 50% off and free shipping sale from Warlord Games. I ordered enough cavalry for 4 more units and enough foot for 2 more units. This will allow for more flexibility if I want to try an all cavalry or all infantry list, or just play a huge battle. Once painted (hah), I will have 6 Foot and 6 Horse a side.
So I read through the rulebook several times but there is nothing like playing a learning game to really get the hang of the rules. I built 2 600 point armies using the list provided in the back of rules for Early Royalist and Parliamentary forces.
The Royalists had:
4 Galloper Cavalry
4 Pike and Shotte Foot
1 Medium Cannon
1 Dragoon
3 Generals rated Poor/ Average / Expert
one P+M unit had Iron Officers and one Cavalry had Motivated Fighters
The Roundheads had:
4 Trotter Cavalry
4 Pike and Shotte Foot
1 Light Cannon
1 Commanded Shot
1 Clubman Foot that were Unmotivated Fighters
3 Generals rated Poor/ Average / Expert
Basing in this scale takes a little getting used to. Each base is 18x6 cm (7"x2.5"). This means no formation changes. Units are always in line. The rules advice breaking foot into 3 60x60mm squares and horse into 90x60mm. This is what I did to allow for use with other rules (namely Victory Without Quarter). As you can see this also allows units to flex with the hilly terrain. I love the look of the big units too.
Now all I needed was an opponent. Being out in the country on a snowy day I was lucky to find a local volunteer to man the dice for the Royalists.
Major General Eli deploys for battle
The rules for setting up terrain were dispensed with although there are rules for gaining the initiative and setting up terrain to your advantage. The rules do not allow for much terrain and you can expect a fairly open battlefield. This is reflective of the period as generals chose to fight in fairly open terrain. My table had steep hills in both deployment zones and a gentle hill on the flank. There was a river and town on the other flank. I had a forest on my flank and the road was lined with a hedgerow in part. More terrain than I needed but I like to get my scenery on the table when the opportunity arises.
Roundhead Centre
Each of the three generals were assigned a command of certain units. We had an historical set up with the cavalry split on the flanks and the infantry in the center. Each turn is played in phases. Both sides select a general and his command and roll 2d6 for initiative. Leader quality can improve the roll. The winner orders all the units under his command, one at a time. Then both players select another general and roll again until all commands have been activated. Then a new turn starts and all generals and units become eligible for activation again.
The fun part about these rules is they are very interactive. Units can react to enemy activity by opportunity firing or charging. On turn one I advanced my Pike and Shotte unit to close the range with my muskets. The cavalry opposing me rolled to opportunity charge me and did so successfully. My move was halted as I suddenly was in melee with rabid horse men. In addition, you can "go for it" during movement. After your initial move you can move again. The first move is free and the next and successive moves come with an increasing chance of becoming disordered and halting. As always every action can cause a reaction from your opponent. Units can only react once per phase whether it is successful or not. This means you if your first move results in a reaction you are safe from that unit if you want to continue moving, shoot or charge. Good tactical depth, lots of decision making and fog of war, as you never can be sure if things will go as planned (also very true of the period).
I made labels for units and commanders. M= movement. Each movement is 90 mm or 3.5". Foot have 1 M and Horse 2. VBU is basic combat value. This goes down as you take damage and is also a units # of wounds.. I = Impetus. This is a units ability to do more damage in a charge. Units with 0 Impetus cannot charge. D= Discipline. C= poor, B= Average and A= superior. All the units in my battle were Bs. Discipline is used to do things like react to enemy moves, make extra moves and rally from disorder.
Movement is basic and fairly generous. The large based units are difficult enough to maneuver without adding lots of rules that restrict movement as well. Close order formations are disordered when moving through difficult terrain but are not otherwise slowed. For example, in my battle I my flanking Horse defeated their opposition but took forever to redeploy to exploit their success. Skirmishers, commanded shot, artillery and dragoons can interpenetrate and be interpenetrated by all and horse can interpenetrate horse. P+S will get in each others way when deployed in depth. I like the horse interpenetrating horse rule. This allowed my defeated horse to fall back behind the supporting unit of horse and this seemed a proper historical reflection.
Handy unit labels
Royalists foot and cannon deployed on a steep hill
Shooting is simple enough once you get the hang of it. Roll dice equal to your combat value. Modifiers include -1/hit, -1 per move before firing and -1 for disorder. -1 for disorder applies to any roll you make except rally. P+S in this period shoot at -2d6. The greater the ratio of pike to shot in a unit gives a modifier of -4 (Early Tercios) to -1 (late period P+M).
Hits are on 6s and pairs of 5s. This rule applies to melee as well. If you get any hits this will cause a cohesion check. This check can be wildly random. A unit may be devastated by a single hit or shrug off a devastating volley or melee charge. Fresh units are relatively immune to this but after that watch out! I like to think of it as the vagaries of war and it prevents the game from dragging on too long. Perhaps the units loyalties were not as sound as we assumed or the unit hit some soft ground before making contact or the musketeers had poor powder. The writers have taken certain players concerns into account by offering an option to purchase of up to 3 re rolls of cohesion checks per game.
There are a number of weapons represented from the lowly bow to the mighty heavy cannon. Cavalry tactics of the period are covered with simple rules. Gallopers have high Impetus and must pursue. Trotters get "point blank pistols" for 3d6 damage just before their first combat. Reiters have a chance to shoot a second time to represent Caracole.
A volley from Royalist dragoons
Melee is similar to shooting but generally more decisive. The big difference is that under the right conditions a unit can add it's Impetus to it's combat value. Impetus represents the shock of the charge. This can be nullified by things like pikes vs horse, defended terrain or being caught flat footed. Like shooting, a unit rolls a d6 for each combat value + the impetus value if applicable. The most common modifiers are -1/hit and -1 for disorder. Once again, any hits cause the dreaded cohesion test. The losing side took the most damage and will retreat. Retreat and pursuit distances are randomized. Units with 0 Impetus cannot charge.
P+S vs Horse
Firefight!
Royalist Horse driving off their opponents
Parliamentary Horse return the favor on the other flank
Disorder and rallying are important aspects of the game. Disorder is easy to get. Any hit by shooting will cause at least disorder. Fighting in a melee causes disorder even if you did not get hit. Failing a subsequent move or moving through terrain can cause disorder. Luckily, all units get a free rally roll at the start of their activation. For average troops this is a 4+. If you blow it, your leader can step in and let you try again but you can do nothing else that activation. It felt like I never made my rally rolls when it was critical but I am sure it was 50% just like the odds allow.
Casualty markers denote disorder. These units are hoping to get the initiative, rally and charge.

When a unit takes hits equal to its basic combat value, it is destroyed/ routed. A unit below half is exhausted and can no longer react. When a unit is exhausted it reduces army morale, when it is routed the effect on army morale is doubled. There is an option to withdraw badly damaged units. Withdrawn units do not count as destroyed. It is hard to do and my opponent and I chose to battle to the death in our game. When a command goes below 1/2 strength, all units take a cohesion test to remain in the fight. If the army goes below half strength, it quits the field. Our battle was close. We were both one unit away from collapse before the Roundheads routed the Foot unit defending the hill for the win. The game played pretty quickly and I will definitely use the rules again. My only complaints are that the writers assigned different values for low and high rolls. Sometimes you want to roll high and sometimes you want to roll low. I spent a long time looking at the rule book to decide if low was good or bad. Another beef is the lack of an index. This is compensated by a thorough table of contents. I have never liked that the unit stats and titles are not translated from Italian. For instance, VBU stands for Basic Combat Value, why not call it BCV??? Light Cav are CL and not LC etc. These are minor quibbles for an otherwise solid rules that gave a fun game in a reasonable amount of time. Two thumbs up!
Final battle in the center